

A few of the links in this post are affiliate links. If you buy something, we may earn a small commission (no extra bones from your wallet 🐾). Thanks for helping support the site and all of the dog adventures!
Homemade dog biscuits are becoming the popular choice among pet owners. When you whip up these snacks at home, you’re in the driver’s seat with total control over what goes into them. No more puzzling over unpronounceable ingredients! It’s all about giving your furry friend a healthy treat packed with love. And we’re here to help you do that with some tips on making healthy dog biscuits that your pup will love.
We’ve all seen those store-bought treats lining the shelves. Sure, they might look fancy, but are they truly good for your pup? Often, commercial brands are loaded with fillers, artificial flavors, and preservatives that your dog definitely doesn’t need. By making them at home, you’re offering a treat that won’t compromise on quality or nutrition.
Healthy treats play a major role in your pet’s overall well-being, reinforcing good behavior and providing small bursts of joy. When you choose the ingredients thoughtfully, each biscuit becomes a tasty powerhouse of nutrition. It’s not just about the snack; it’s about boosting your dog’s vitality and health, one biscuit at a time.
Ever wonder about those hidden extras in your dog’s treats? Making biscuits at home means no surprises. You get to decide every ingredient down to the last sprinkle of oat flour. This way, your dog gets the good stuff – be it for allergies, weight management, or just plain yummy flavors they crave. It’s peace of mind with every bite.
Pair your biscuits with healthy meal ideas from Best Homemade Dog Food Recipes.

Essential Ingredients for Nutritious Dog Biscuits
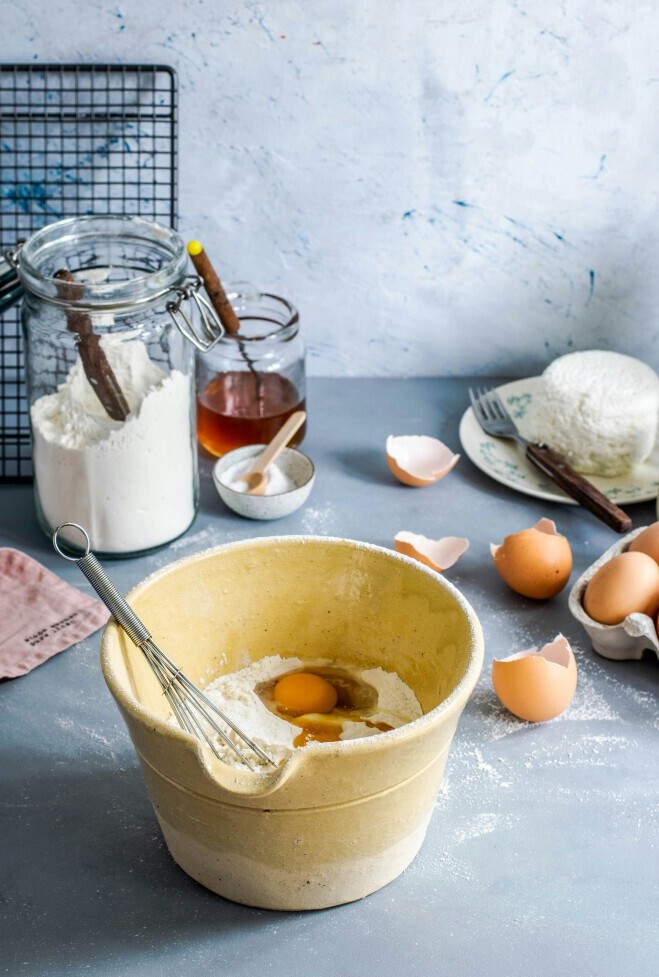
Crafting healthy dog biscuits starts with choosing ingredients that are both safe and nutritious for your furry pal. It’s all about finding the perfect mix of veggies, fruits, and grains. Carrots, sweet potatoes, and apples can add a delicious crunch and natural sweetness your dog will love.
When it comes to allergens, knowing what to avoid can save your pup from discomfort. Common culprits like chocolate, grapes, and raisins should never find their way into the mix. Instead, lean towards safe substitutes like pumpkin or peanut butter (just make sure it’s xylitol-free!). Don’t add any ingredients that you’re not sure if they are safe for your dog to digest.
Protein is an important part of your dog’s diet, and incorporating it into their treats can be a game-changer. Eggs and chicken are straightforward options, but you can mix things up with fish or turkey to keep your pup guessing. You can experiment with different proteins and let your dog pick what they like best.
Natural flavor enhancers and nutritional supplements can give your biscuits an extra boost. A bit of parsley can freshen breath, while a sprinkle of flaxseed can work wonders on their coat.
It’s all about tailoring the treat to suit your dog’s needs, and these additions can turn a regular biscuit into a powerhouse of health. Just make sure to keep the ingredients healthy and natural instead of unnecessary filter ingredients that don’t have any health benefits for your dog.
Training gets easier when you know how to reward correctly. See more in How to Use Treats for Dog Training.
Preparation and Baking Tips for Perfect Dog Biscuits
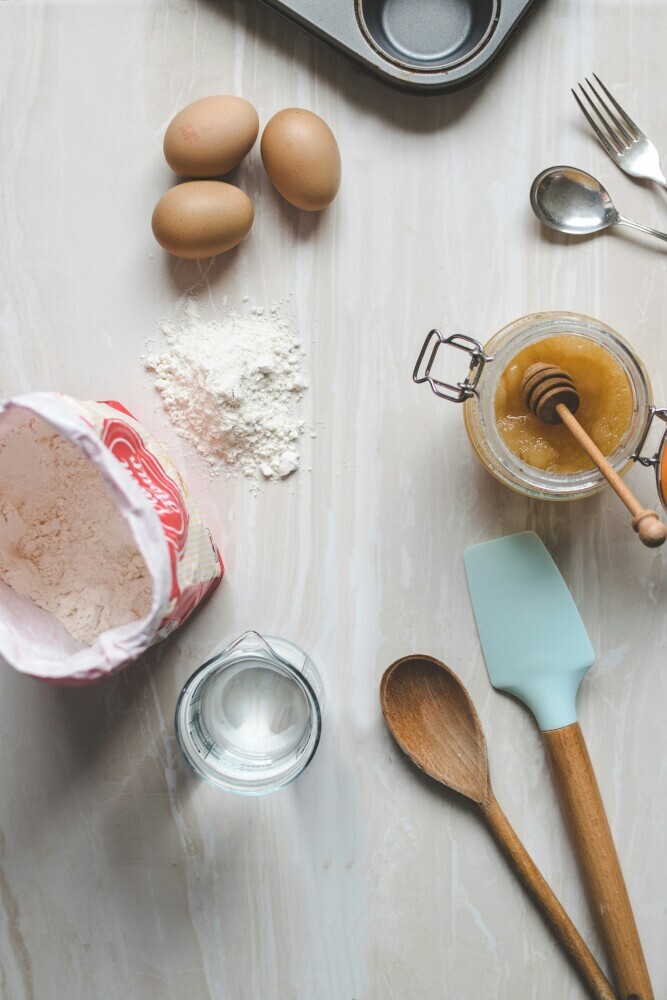
Before you start, round up your essential tools. A mixing bowl, cookie cutters in fun shapes, and a non-stick baking tray will get you rolling. Having these ready means less hassle when you’re in the kitchen zone. These can be simple and easy to make once you know what ingredients you will be using.
When you’ve got the ingredients and tools set, it’s time for action. Mix your chosen ingredients in the bowl until they form a dough. Roll it out evenly, then use your cookie cutters to shape the biscuits. Just like that, you’re creating treats that not only taste good but look great too.
Keep an eye on some common missteps. Overbaking can turn those biscuits into chew-your-arm-off rocks. Underbaking might leave them too soft. Aim for that golden-brown sweet spot. If unsure, keep a trusted kitchen timer handy to avoid mishaps.
Variety is the spice of life, right? Experiment with different sizes and shapes. Not only does it cater to your dog’s chewing preference, but it’s also fun for you to watch them munch on star-shaped treats. Plus, you can tailor the size to match your pup’s snacking habits – no more crummy Tower of Pisa-sized disappointments.
Homemade biscuits should fit into your dog’s overall diet. Learn about balanced feeding in Dog Nutrition 101: Feeding for Every Life Stage.
Customizing Dog Biscuits to Suit Your Pet’s Needs
Every pup is different, and catering treats to meet their specific needs turns you into a dog biscuit master chef. Start by tweaking recipes to accommodate unique dietary requirements. Whether you’re dealing with a sensitive stomach or managing calories, adjusting ingredients is key.
Think about adding supplements. A bit of fish oil for a shiny coat or glucosamine for joint support can be a subtle yet powerful addition. It’s about turning each biscuit into a little nugget of health and wellness. This is a great way to get your dog some essential nutrients while also giving them a treat they will enjoy.
For those fluffy buddies with allergies, creating hypoallergenic biscuits can make all the difference. Swap out wheat for oatmeal or rice flour, and see how your dog enjoys these gentle alternatives. There are always alternatives if you dog struggles with certain ingredients.
Flavor is where the magic happens. Find out what flavors make your dog do tail-wags and use them wisely. Whether it’s a sprinkle of cheese or a dash of cinnamon, adding personal favorite flavors makes every bite a wag-worthy experience. Adding a little salt, or their favorite sauce can give them a flavor sensation.
Storage, Serving, and Safety Tips
After baking up a batch of tasty dog biscuits, keeping them fresh is the name of the game. Store them in an airtight container to lock in that goodness, and unlike treats full of preservatives, homemade biscuits might last a week at room temperature. For longer storage, pop them in the fridge or freezer to extend their life.
When it comes to serving sizes, moderation is key. Even if your dog looks at you with those irresistible eyes, portion control prevents overindulgence. Tailor the treat size based on your dog’s size and activity level. A little goes a long way in keeping them satisfied without piling on extra pounds.
Staying vigilant for spoilage is super important. If you notice any changes in smell or texture, it’s time to toss them out. Don’t gamble with your pet’s health, especially when it’s about keeping their treats fresh. Keeping them in proper storage will help them to last longer.
Introducing new treats? Go gradual. Mixing these homemade delights into their diet slowly can help avoid tummy troubles. Remember, every dog’s digestive system is unique, so slow and steady wins the race. Once confirmed tummy-friendly, your homemade goodies can become a happy staple in their treat routine.